
Do these in order. Each step makes the next one better, and skipping the first is the most common reason the rest of the product looks empty or wrong.
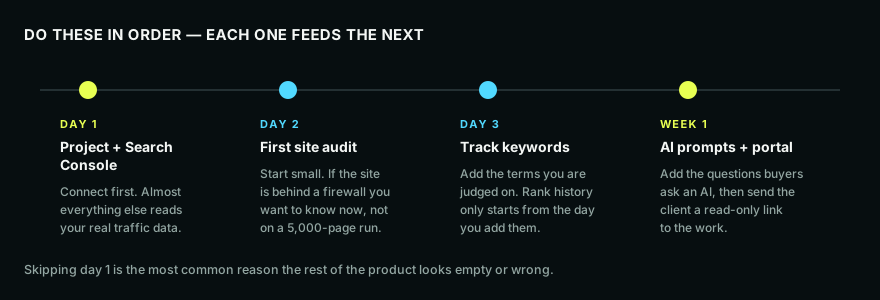
Day 1 — Create the project and connect Search Console
Create a project for the site. Then go to Settings → Integrations and connect Google Search Console.
Do this first. Insights, the Work Queue, most of the diagnosis, and every client-facing report read from it. Connecting on day five means five days of the product guessing when it could have known. Full walkthrough: connecting Google Search Console.
Day 2 — Run one small audit
Run a site audit with a modest page limit — a few hundred, not everything.
The point of the first run is not the report. It is finding out whether we can reach your site at all. If a firewall is going to refuse us, you want to learn that on a 200-page run, not a 5,000-page one. If it comes back clean, raise the limit and run it properly.
Day 3 — Add the keywords you are judged on
Open Rank Tracker and add the terms someone would use to measure your work. Start with the ones you already report on.
Rank history begins the day you add a keyword. There is no backfill — for anyone. The sooner the list exists, the sooner the trend means something.
End of week 1 — AI prompts and a client portal
Add the questions your buyers would actually type into an AI assistant. Not your keywords: the questions. "best internal linking tool for wordpress", not "internal linking".
Then create a client portal link. It is read-only, scoped to one project, and it is the fastest way to show somebody the work without giving them a login. See sharing a client portal.
What good looks like after a week
- Search Console connected, showing real clicks
- One completed audit you have actually read
- Rank tracking running on your reported terms
- A handful of AI prompts with at least one run each
- Insights showing something you did not already know
Next
- What each section of the app is for
- Connecting Google Search Console